I needed some ancient celtic villages for my Caesar's Gallic War Project, I know that there are quite a few commercially available ancient celtic villages which would have been more than suitable. However I really fancied having a go at building some of my own villages and to be honest it was surprisingly easy. I hope you really enjoy this tutorial on how I completed this task.
Gallic/Celtic Villages
Making Gallic/Celtic Village One
1. The first stage was to draw a paper template of how I wanted the Celtic village to be arranged.
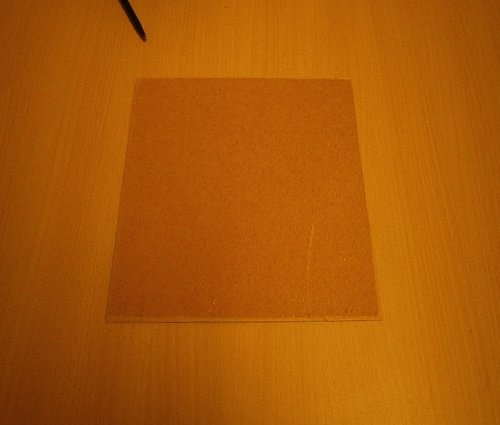
2. The next thing was to decide what size base I was going to use, I decided on 10 x 10 inches using my preferred basing material hardboard after cutting my bases I proceeded to rasp the edges to give it a smoother appearance.
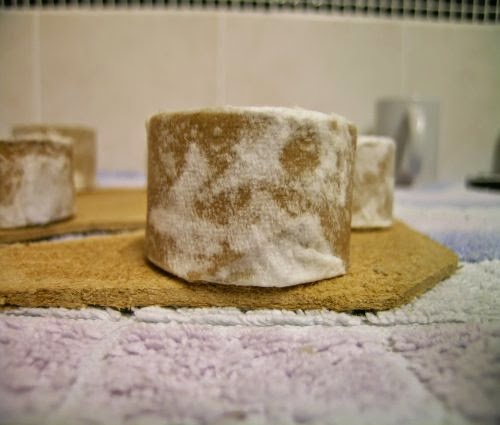
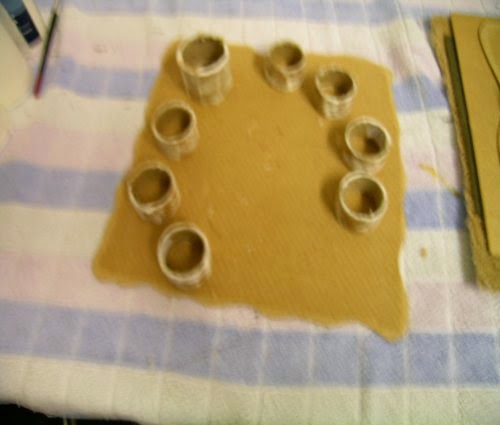
3. The next stage was to cover the assorted cardboard rolls with PVA glue and then put toilet roll paper over the top and allow to dry.
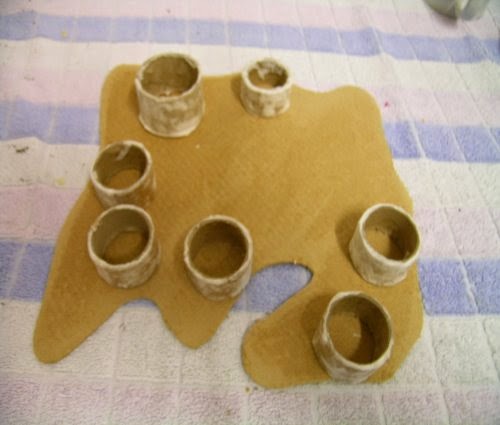
5. The next stage is to glue the buildings together using a glue gun once you have done this then glue the buildings to the hardboard
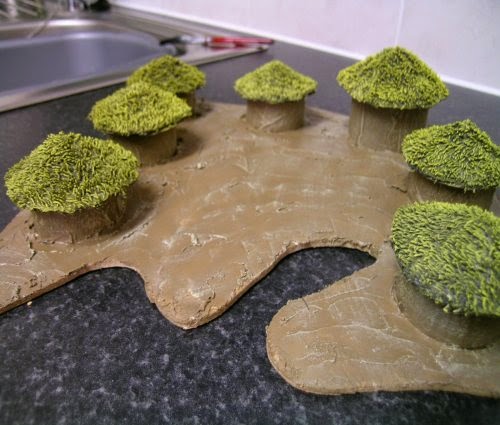
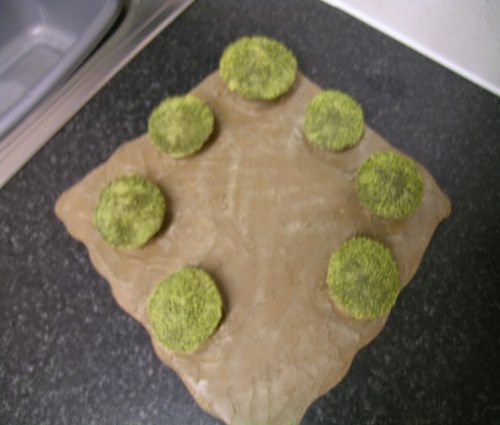
6.The next stage was to cover the hardboard polycell filler.
Making Gallic/Celtic Village Two
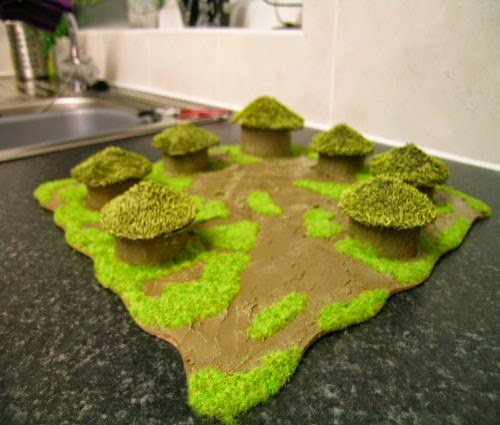
7. The next stage was to undercoat the village buildings with Vallejo 995 German Grey, and then heavily dry brushed with Vallejo 983 Flat Earth, and finally just the roof was dry brushed with Vallejo 821 German Cam. Beige WWII. The ground was painted with Vallejo 983 Flat Earth and then dry brushed with Vallejo 918 Ivory.
8. The next step is to varnish your bases with Ronseal Diamond Hard Varnish, matt clear.
9. The Last stage is to add Noch Summer Meadow Grass.
Tools
Pencil
Tape measure
Wood saw
Rasp
Screwdriver
Paintbrushes
Glue Gun
Materials
Hardboard
Polycell Filler
Ronseal Diamond Hard Varnish, matt clear
Noch Summer Meadow Grass
PVA
Towle
Cardboard
Vallejo Colours
Vallejo 995 German Grey
Vallejo 983 Flat Earth
Vallejo 821 German Cam. Beige WWII
Vallejo 918 Ivory

